 |
| Flaky Pastry I - for a single crust |
 |
| 1 1/4 c. flour...oh, it says sifted - oops, totally didn't see that instruction. |
 |
| 1/2 t. salt (for those who don't know, small "t" stands for teaspoon, while capital "T" stands for Tablespoon, and a Tablespoon equals 3 teaspoons. |
 |
| 1 1/3 cups ice water, huh? What's that for? |


I needed 1/3 cup shortening. I had 1 1/3 cups of ice water in the measuring cup. Some simple math would tell me that to get 1/3 cup of shortening by this method, the water would have to be brought up to 1 2/3 c. so I started adding scoops of shortening from the can into the water. It really wasn't scoops because I kind of know how to reckon about what 1/3 c. is and only had to add little bits to actually get the water to come up to 1 2/3 cups.


 |
| Shortening all mixed into the flour mixture. |

 |
| Mixed up dough - just perfect. |

 |
| Patted out to about 8" before using rolling pin; on a sheet of waxed paper as I don't like cleaning gunk off my counter top. |
 |
| Crust in tin. |
 |
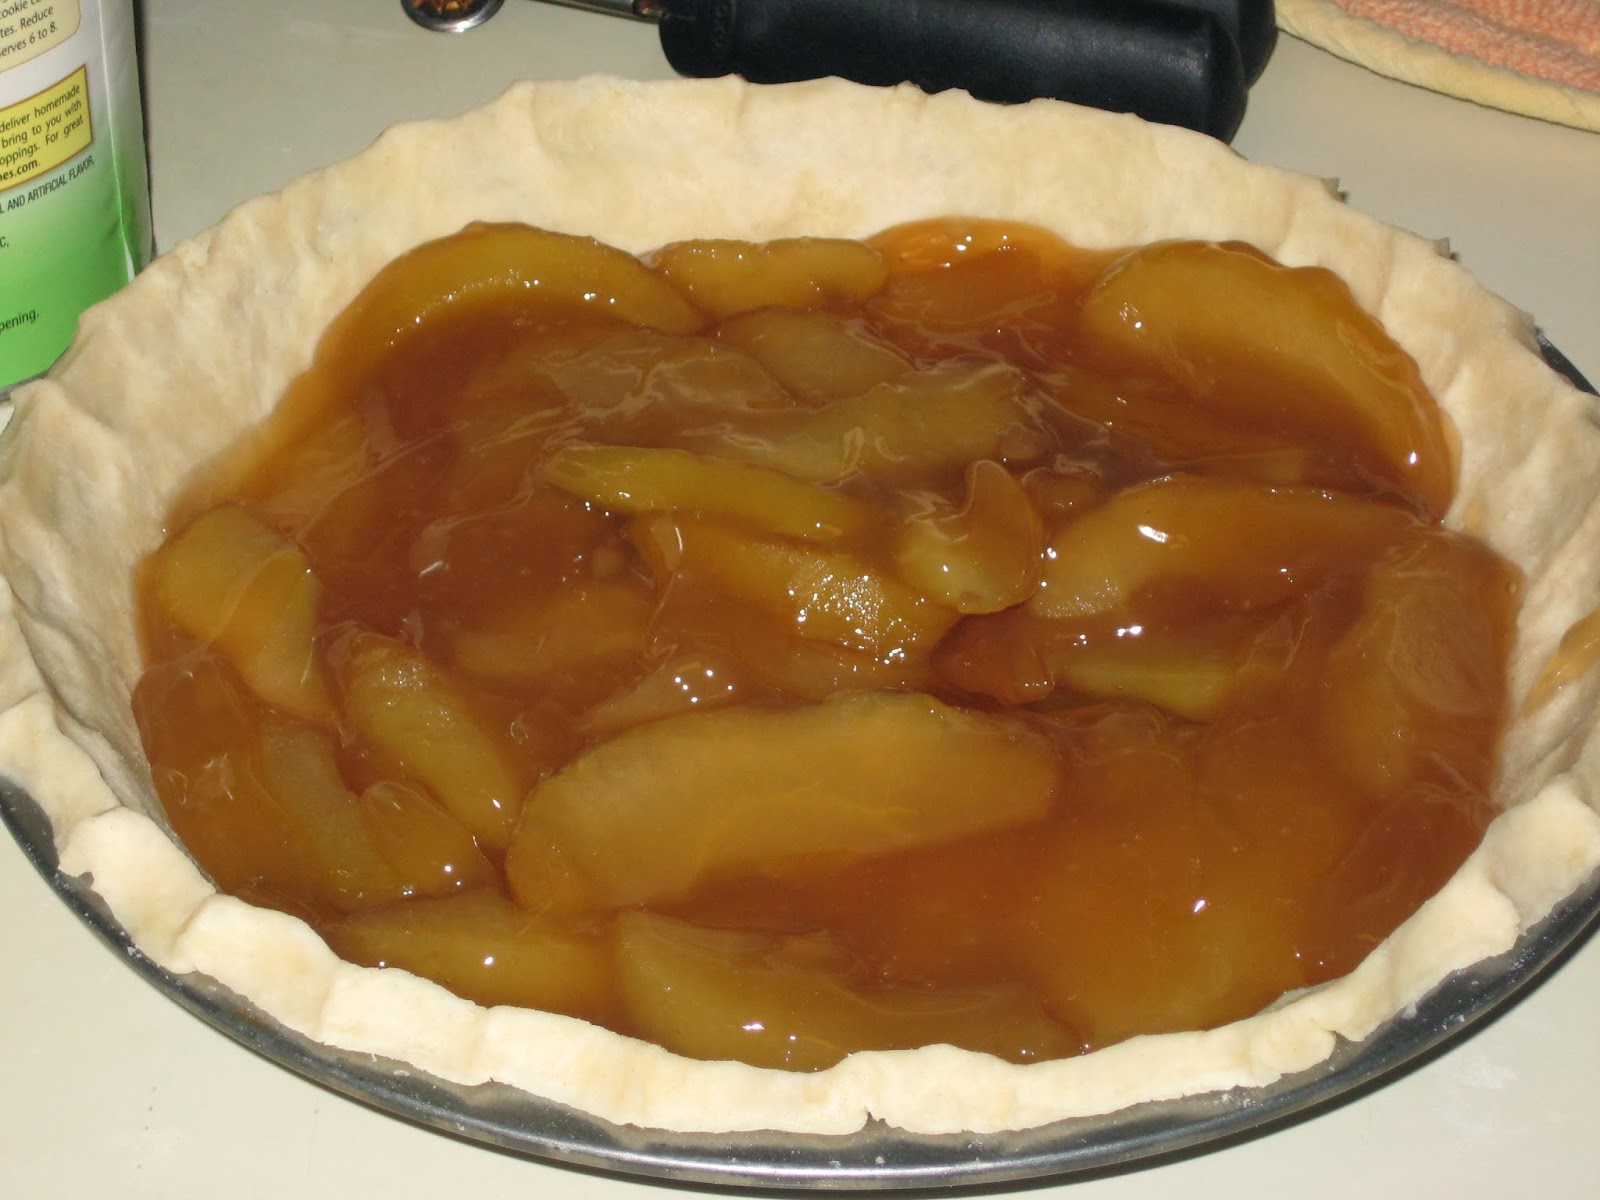
| Before baking. |
 |
| After baking |

Did the flavors play well together? For me and Marty, neither of whom are picky eaters, it was interestingly good. I enjoyed it even more over the next few days after the flavors melded, and also with topping it with a little cherry/chocolate ice cream adding the extra sweetness. Next time, I will also try a different crust recipe since Marty really expected a "sweet" crust like one of the local restaurants has...according to him, but I've never noticed. In the above picture, after it cooled, the filling sank even lower from the crust, so maybe a third can would have been beneficial? But then, come to think of it, I didn't use the entire can of blueberry filling, keeping back maybe half a cup or so, thinking I was adding too much to the smaller pie pan.
I hope you enjoyed my lengthy adventure for my first pie in the toaster oven. I'm satisfied knowing it can be done and it can turn out well, despite my faux pas.
Pie in the toaster oven! Who'd've thunk it??! I'm so glad you're doing this -- my horizons will be sufficiently broadened!! :)
ReplyDelete