Great progress has happened over those two weeks, and it's now been quiet since mid-week while we await the countertop fabrication. I received word last night that it will be installed today though I don't know what time to expect.
 |
| We left the ceiling fan/light in place so it's covered to protect from the ceiling spray treatment. |
 |
| Walls have been mudded and textured - nasty stuff, made my eyes burn, smelled awful and added humidity.It took awhile to dry as our weather was also quite wet during this process. |
 |
| The additional pantry area mudded and textured. |
 |
| That "Escher" issue fixed as best as possible - not perfect, but certainly not as noticeable. |
 |
| Paint! We have paint. I chose a color by Behr: "Perfect Taupe". I was concerned it may be too gray and too dark, but took my chances, and am happy I did! |
 |
| More paint. |
 |
| And more paint. Some areas of course were not painted as they'd just be covered up with the cabinetry anyway, so why paint? |
 |
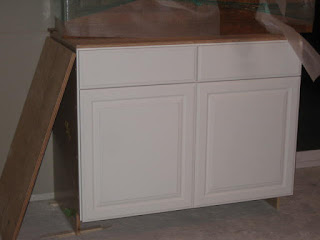
| Oh be still my heart! The first part of the base counters went in. The oak side cabinetry, and oh my, how I love it. And look at all that storage space! |
 |
| From a slightly different angle. |
 |
| Cabinetry for the kitchen proper awaiting install, safely wrapped and protected. |
 |
| And more hanging out in the garage. |
 |
| It's getting installed! Be still my heart x 2! Oh yes, I'm loving it! |
 |
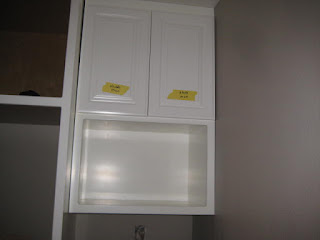
| Refrigerator surround and cabinet above sans doors. |
 |
| Cabinetry to right of refrigerator surround. |
 |
| Head-on view of skinny cabinet. This lower & upper cabinet was an afterthought as there was just over a 12" space that was crying for something to help balance that side of the wall. |
 |
| The cabinetry and drawers between where the sink will be on the left and the range on the right. |
 |
| Cabinet and drawers to the right of the range. |
 |
| All I can do is smile :) That's the space for the range and range hood. The entirety of the wall-space between the upper and lower cabinetry will be tiled. |
 |
| The rest, where the dishwasher will fit there at the left end, the sink directly below the window. At the very left end is yet another really skinny cabinet area, seriously skinny. |
 |
| Close up of crown molding. |
 |
| Crown molding added here too, and the area is cleaned up. |
 |
| Crown molding adds so much to the look, so impressive. |
And that ends what has been done over the past two weeks. Today is the countertop, and after that should be the backsplash tile and then the floor tile. The big hang-up is still the delinquent sink - no updates as to its arrival as yet. To accommodate it, the countertop will now have to be cut in place. Not ideal but doable. Contractors and their subs have schedules so it wasn't possible to delay the counter fabrication, which would also have affected the tile man, and the finishing man and the appliance installation. We'll have a 95% finished kitchen that will be mostly usable, just no sink and no water; and that could be well into April.


No comments:
Post a Comment